
Looking to spice up your walls without breaking the bank? Adding texture to your walls is a simple yet impactful way to transform any space.
1. Rag Rolling

Rag rolling creates a unique, rhythmic texture by rolling a paint-soaked rag over the wall. It’s a technique I enjoy for its simplicity and the beautiful, flowing results.
You might like:
- Textured Paint Roller Set: Easily create flowing wall textures with this roller set. Perfect for DIY enthusiasts like you!
- Decorative Painting Rag: Achieve stunning rag rolling effects with this reusable painting rag. Transform your walls effortlessly!
- High-Quality Interior Wall Paint: Choose this premium wall paint for rich, enduring finishes. Ideal for texture techniques!

2. Venetian Plaster
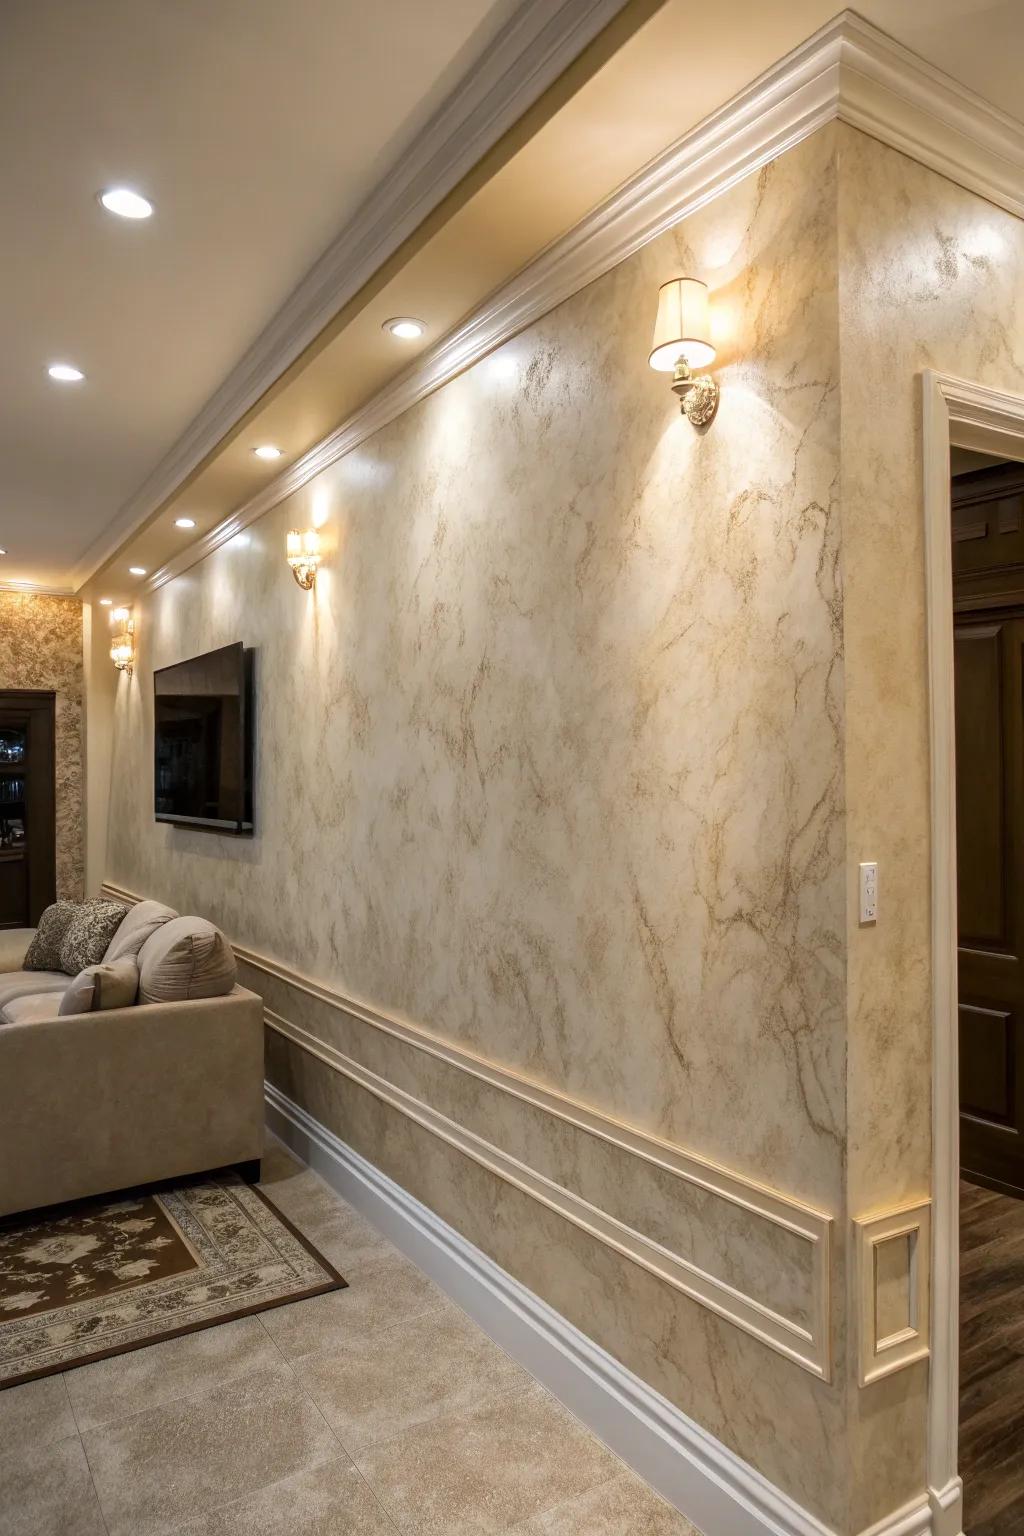
For a touch of luxury, Venetian plaster offers a polished, marble-like finish. This technique brings a classic elegance to any room, and I’ve used it to elevate my living spaces.
Check if these fit your needs:
- Venetian Plaster Kit: Transform your walls with this Venetian plaster kit for a luxurious marble-like finish.
- Metal Plaster Trowel: Achieve a smooth, elegant finish using this durable metal plaster trowel.
- Natural Bristle Paint Brush: Add depth with a natural bristle brush specifically designed for plaster techniques.

3. Fabric Impression
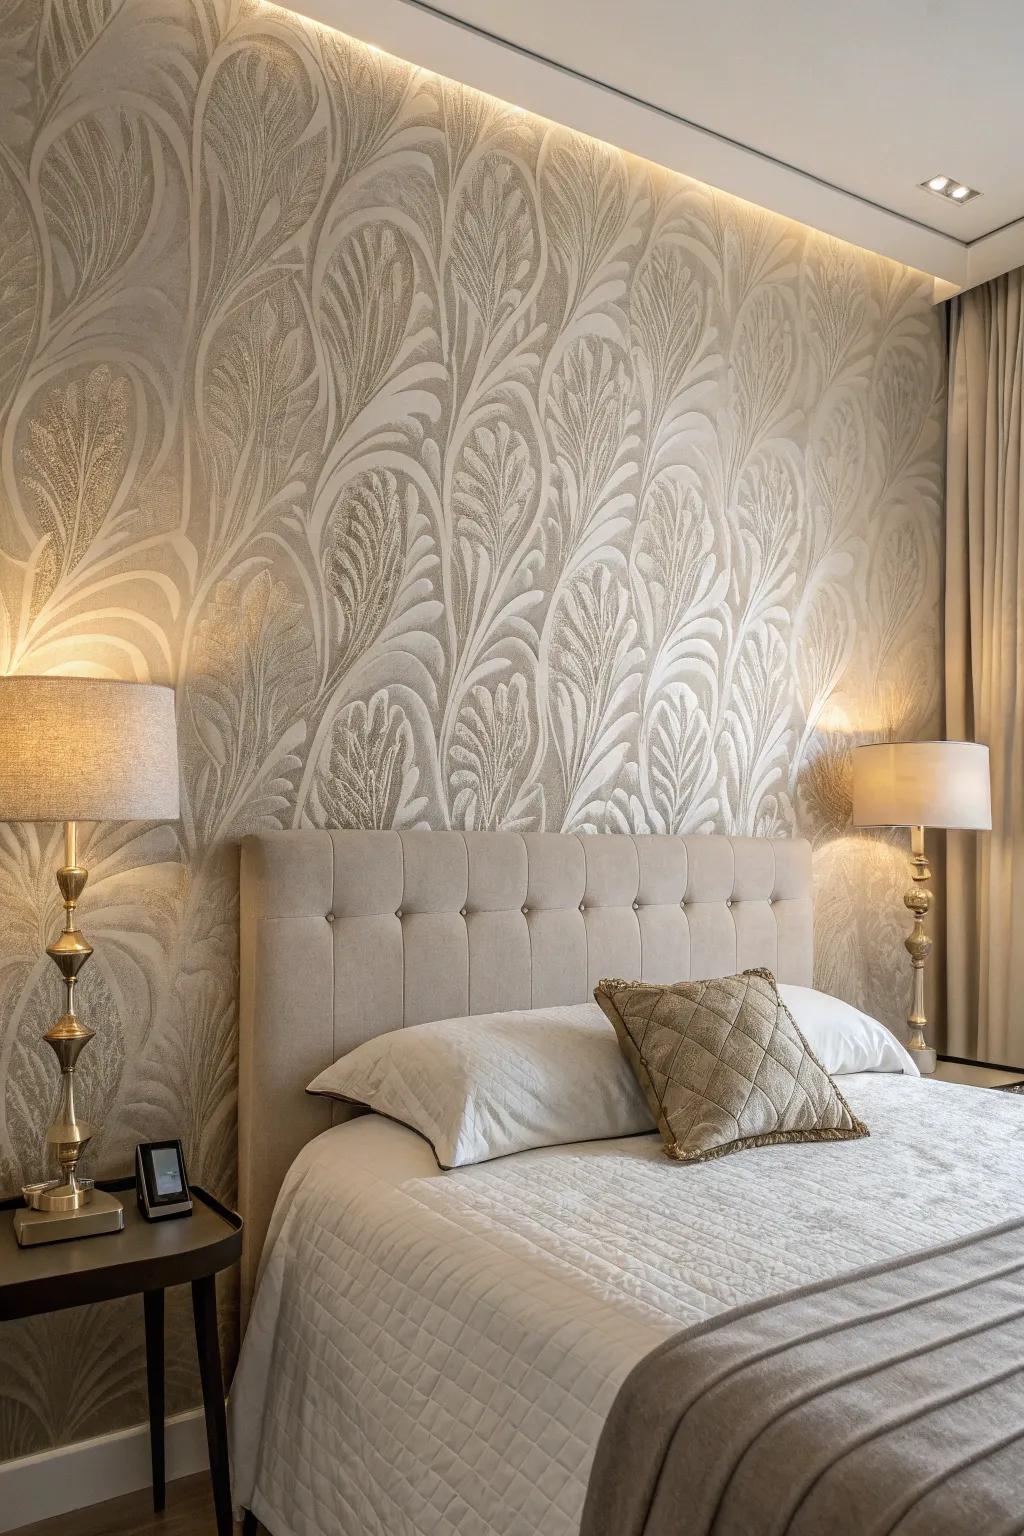
Pressing fabric into wet paint leaves behind a soft, textured imprint. I’ve used this technique in my bedroom for a touch of elegance and coziness.
Possibly handy products:
- Cotton Fabric Squares: Try these versatile cotton squares to create intricate and elegant wall textures effortlessly.
- Textured Roller Brush Set: Enhance your fabric impression technique with these specially designed textured roller brushes.
- High-quality Interior Wall Paint: Choose this durable wall paint to ensure long-lasting and vibrant fabric impressions in your home.


4. Orange Peel Texture
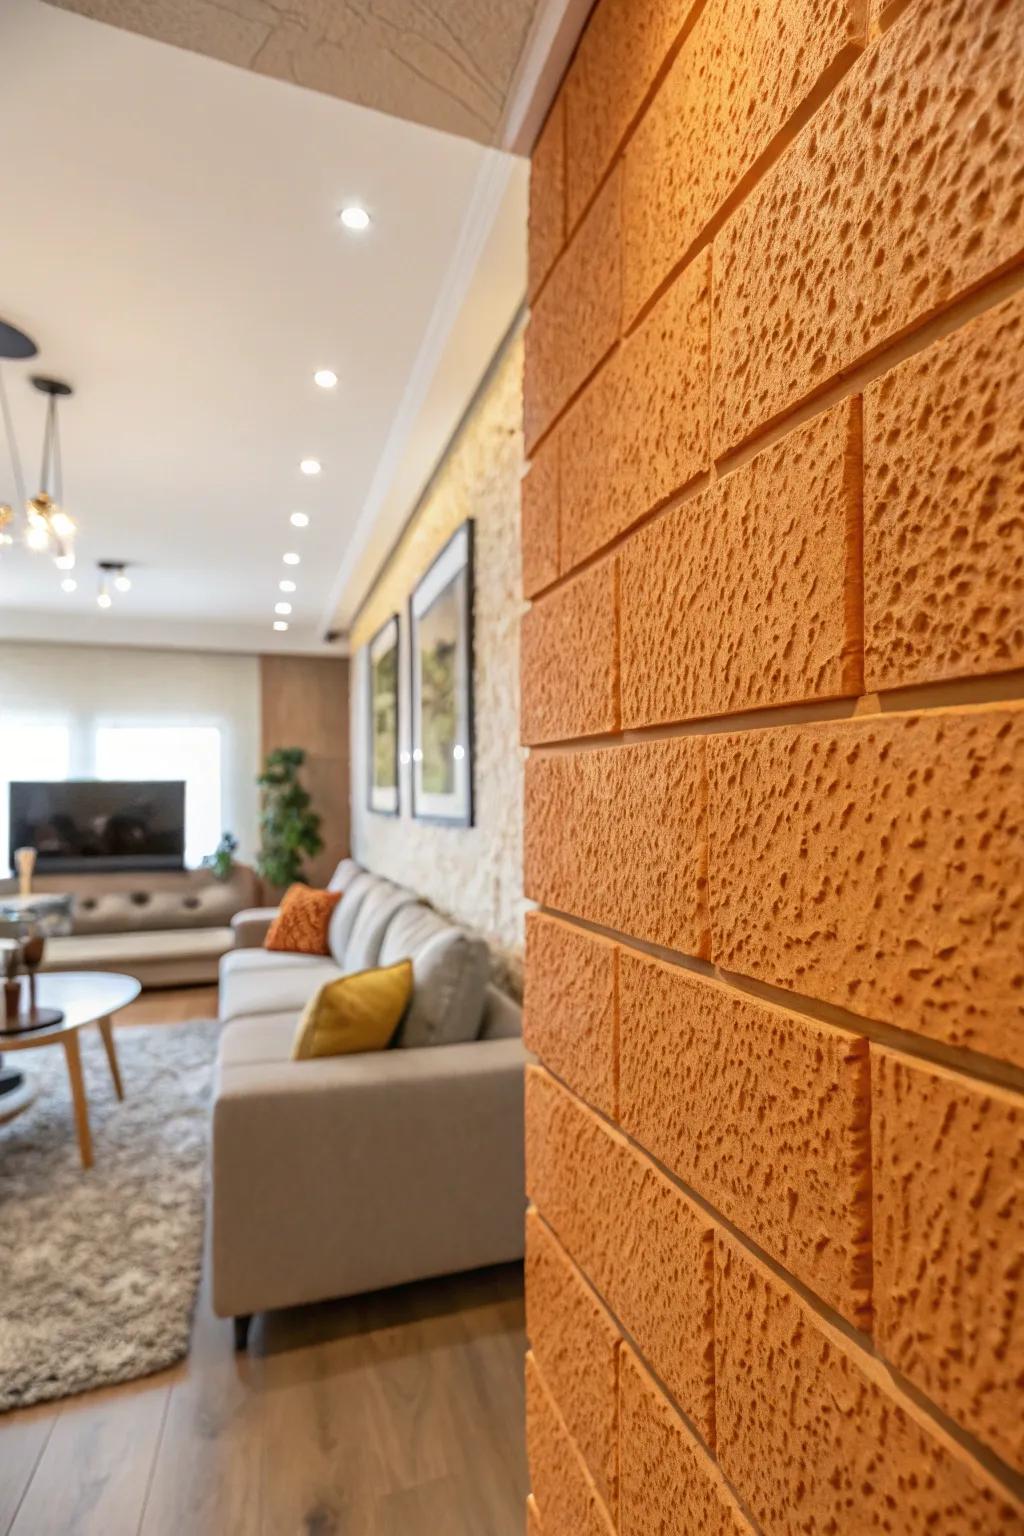
The orange peel texture gives walls a slightly bumpy finish, resembling the skin of an orange. It’s a technique I’ve used in my own home to add subtle depth and is easily applied with a texture sprayer.
A few things you might like:
- Texture Sprayer: Achieve a professional orange peel finish effortlessly with a reliable texture sprayer. Simplify your DIY project.
- Drywall Joint Compound: Use drywall joint compound for a seamless, long-lasting orange peel texture. Perfect for all wall surfaces.
- Sandpaper Set: Refine the finish of your orange peel texture with a versatile sandpaper set. Ensure a smooth result.
5. Bubble Wrap Texture
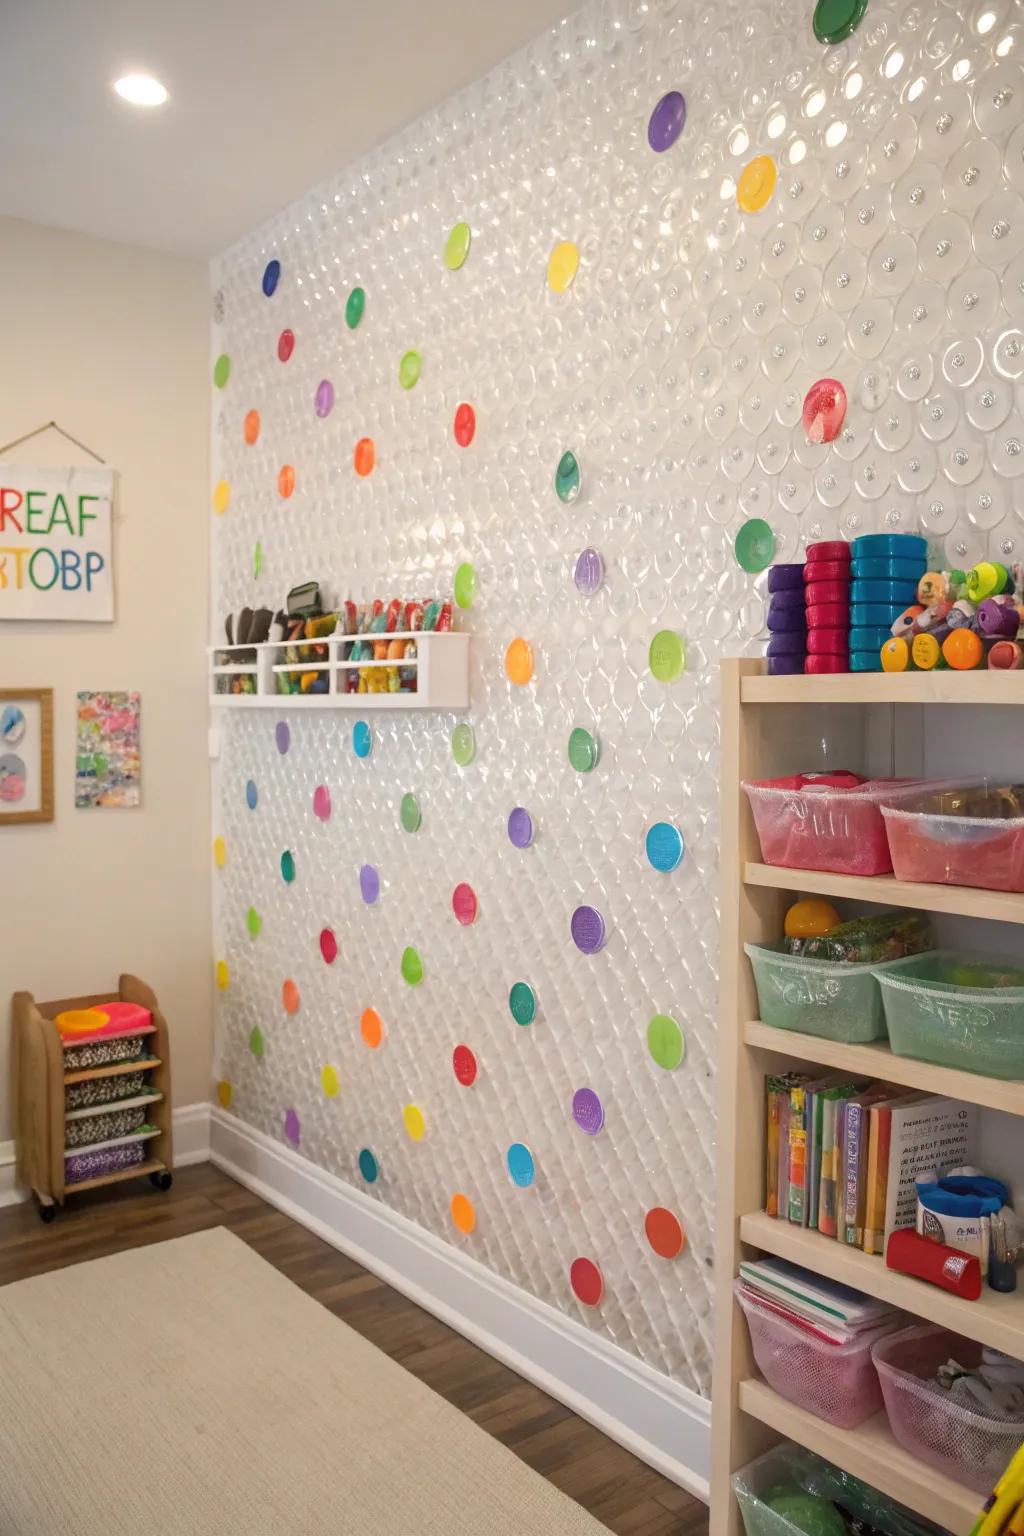
For a truly unusual texture, try using bubble wrap to create a dotted pattern. It’s a fun and unexpected way I’ve added texture to my craft room walls.
Items that may come in handy:
- Large Bubble Wrap Roll: Create unique wall textures using large bubble wrap; easy to apply and remove.
- Acrylic Paint Set: Add vibrant colors to your bubble wrap wall texture with high-quality acrylic paints.
- Foam Paint Brushes: Achieve smooth and even application on bubble wrap textures with these versatile foam brushes.
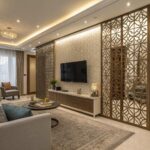
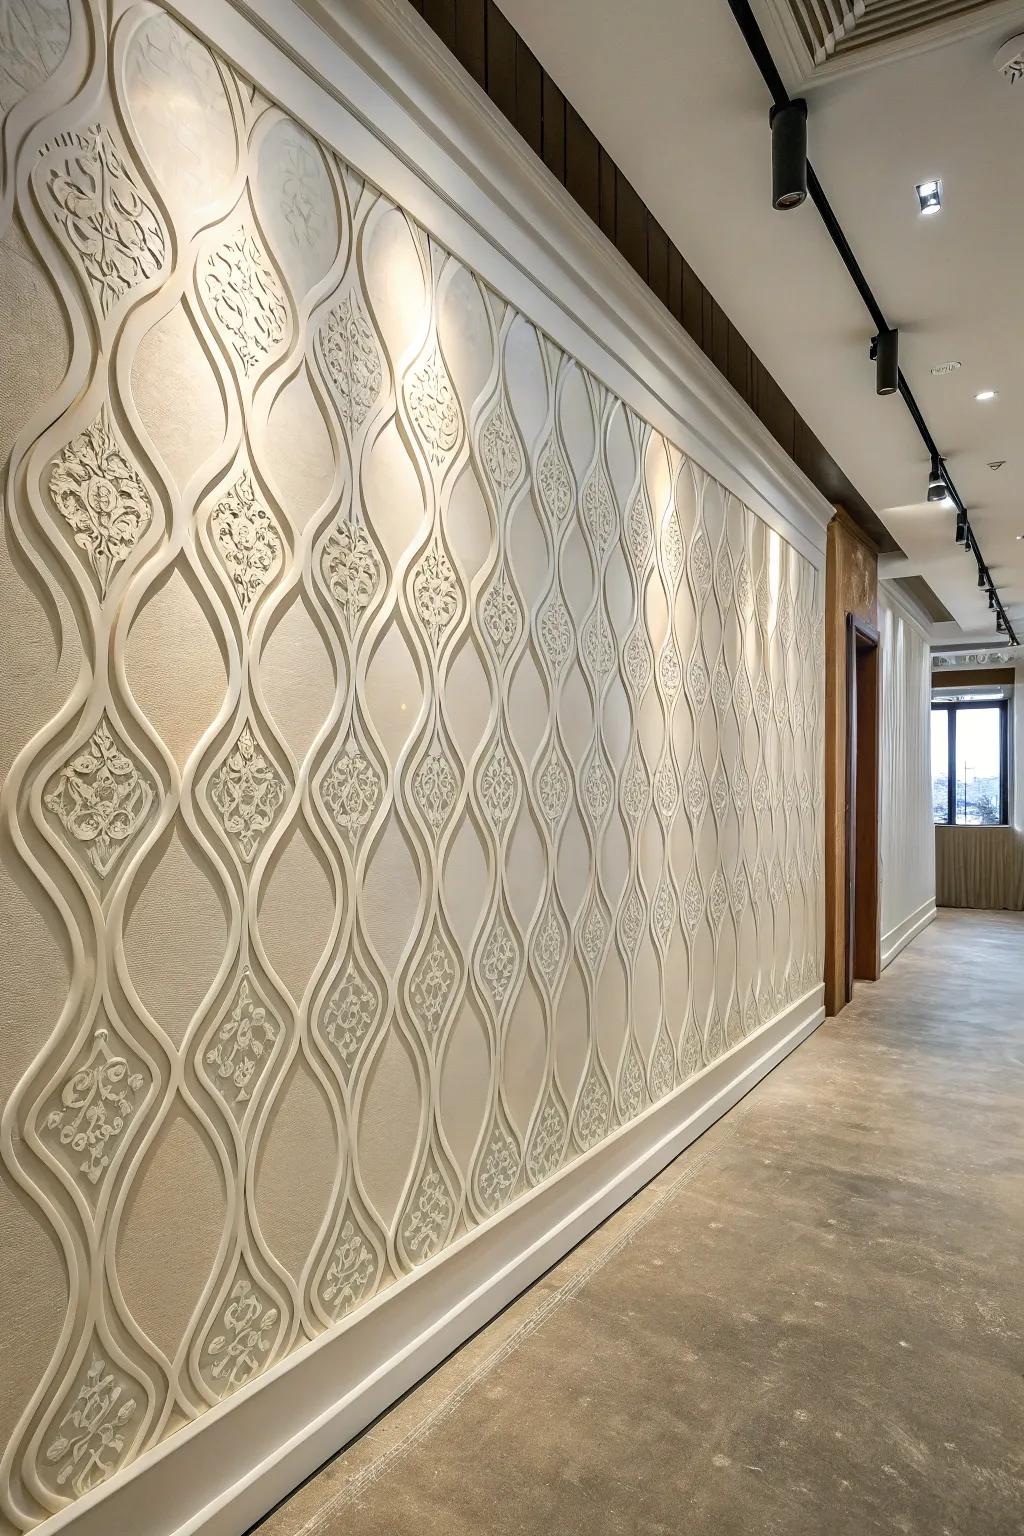
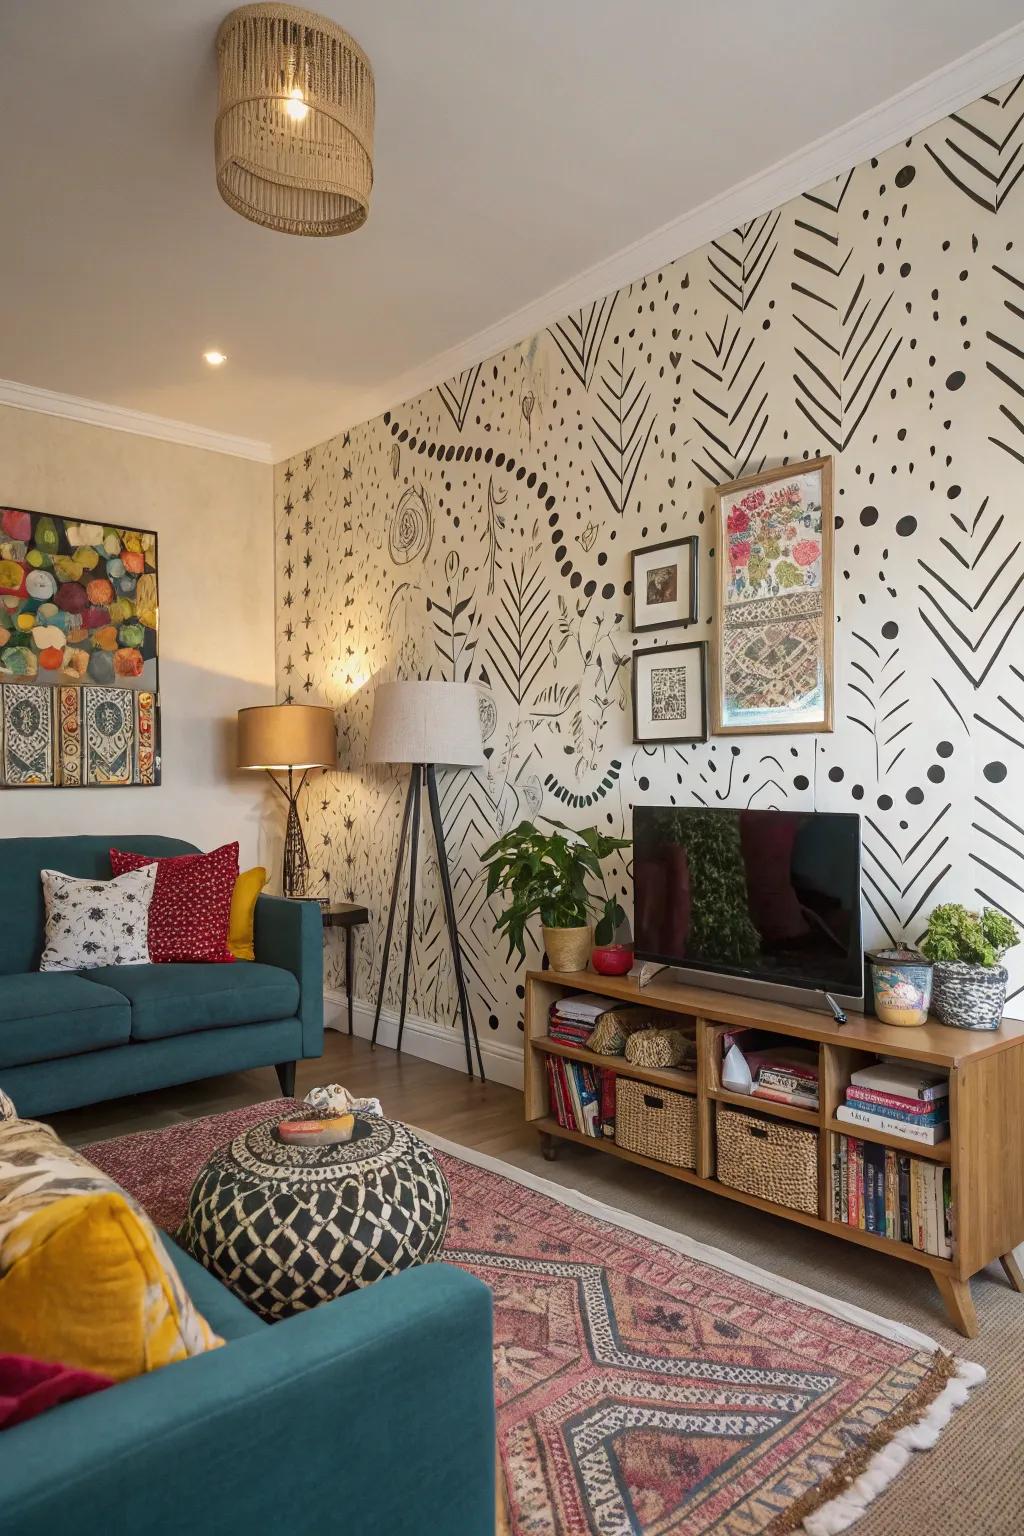
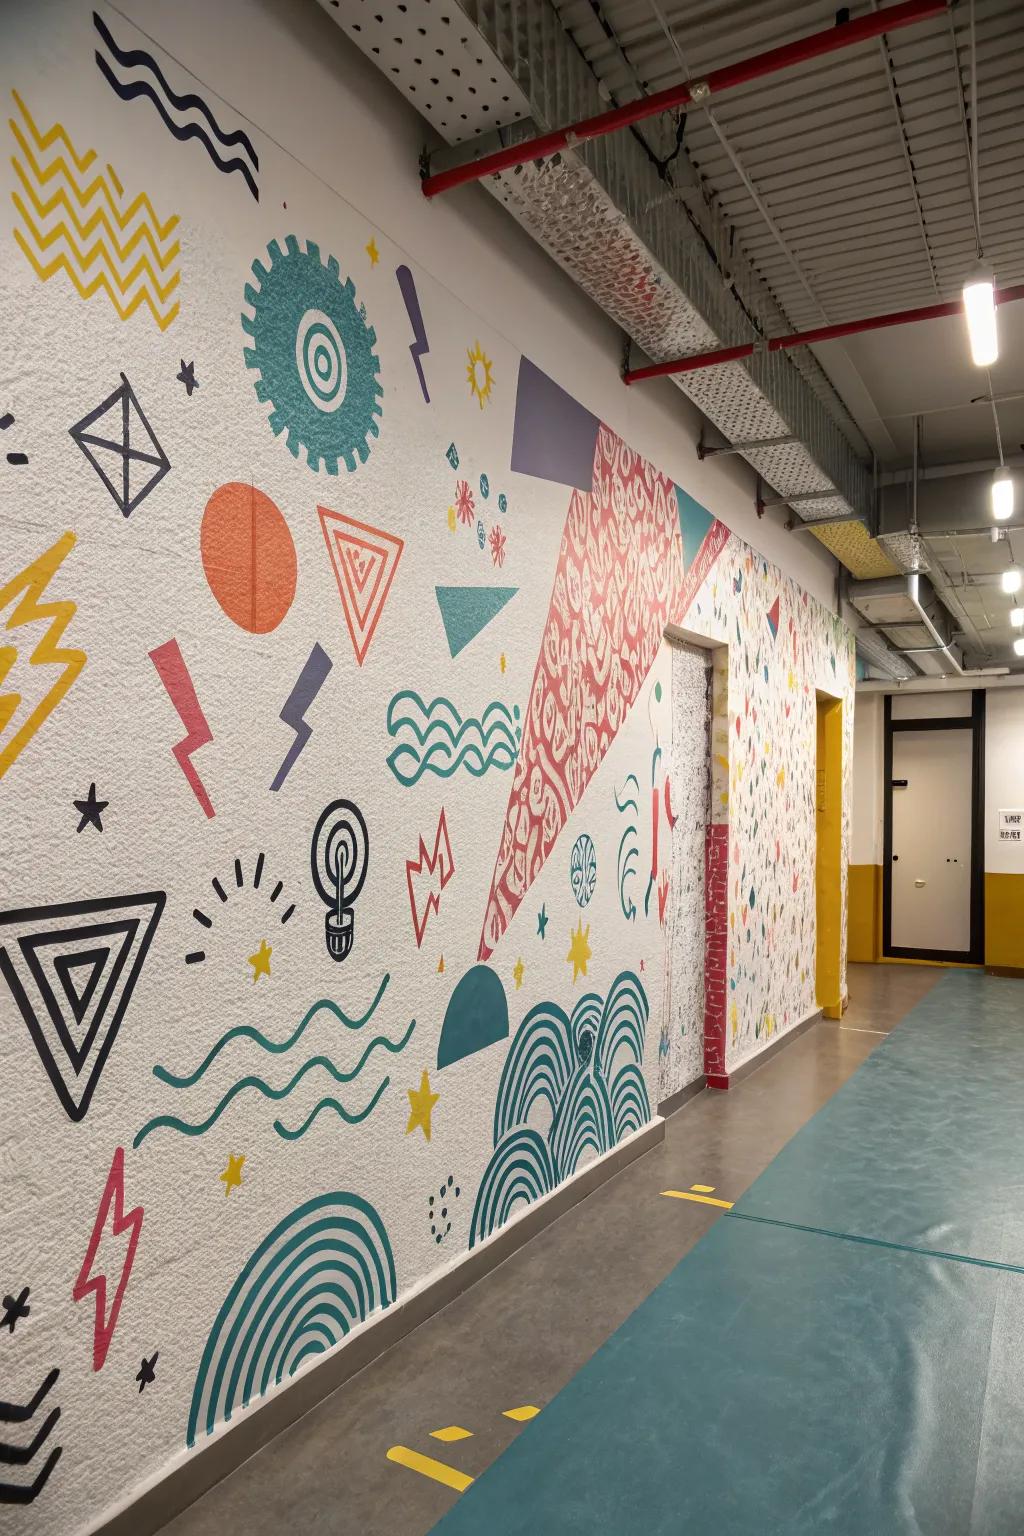
6. Stenciled Texture
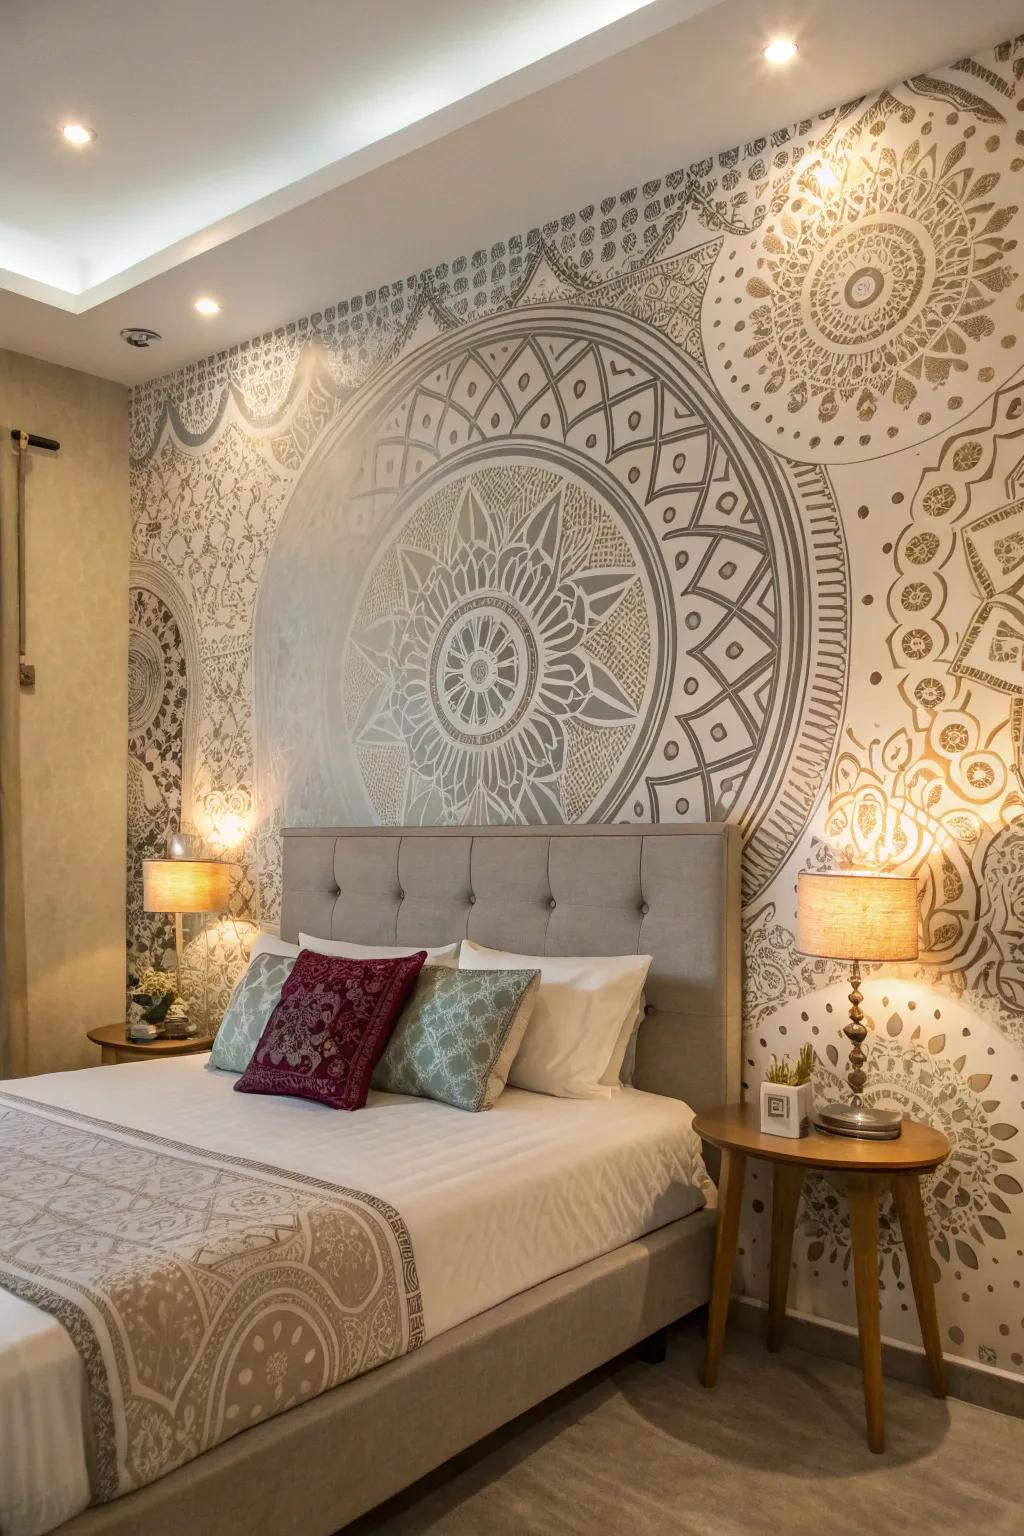
For a precise touch, use stenciled texture to create intricate designs. I’ve used stencils to personalize my walls with patterns that reflect my style.
Consider these options:
- Decorative Wall Stencils: Transform your walls with these stunning decorative stencils, bringing elegance and style to any room.
- Stencil Brush Set: Achieve precise and smooth designs with this high-quality stencil brush set, perfect for detailed work.
- Acrylic Paint for Wall Stencils: Use vibrant acrylic paints to bring your stenciled designs to life with long-lasting color and finish.

7. Knockdown Texture
The knockdown texture takes the orange peel one step further by smoothing out the peaks for a rustic, stucco-like appearance. I’ve found this technique perfect for creating a cozy vibe in my bedrooms.
Products that could assist:
- Drywall Texture Spray Gun: Achieve the perfect knockdown texture with this spray gun. Easy to use for quick results.
- Knockdown Texture Sponge: Use this sponge to create smooth, rustic wall textures effortlessly in any room of your home.
- Wall Texture Knife: Smooth out texture peaks precisely with this knife, ideal for a professional-looking finish.
8. Comb Texture
The comb texture uses a notched trowel to create beautiful, lined patterns. It’s a fun technique I’ve used in my studio to add a bit of personality to plain walls.
Some handy options:
- Notched Trowel Set: Create stunning patterns with ease. Enhance your walls effortlessly using a notched trowel set.
- Textured Wall Paint: Add depth and dimension. Achieve rich textured finishes with specialized textured wall paint.
- Patterned Stencils Kit: Get creative with patterns. Use stencils to complement comb texture walls beautifully.
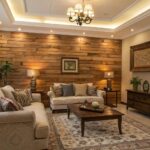
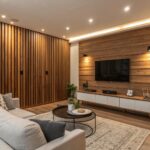
9. Wood Grain Texture
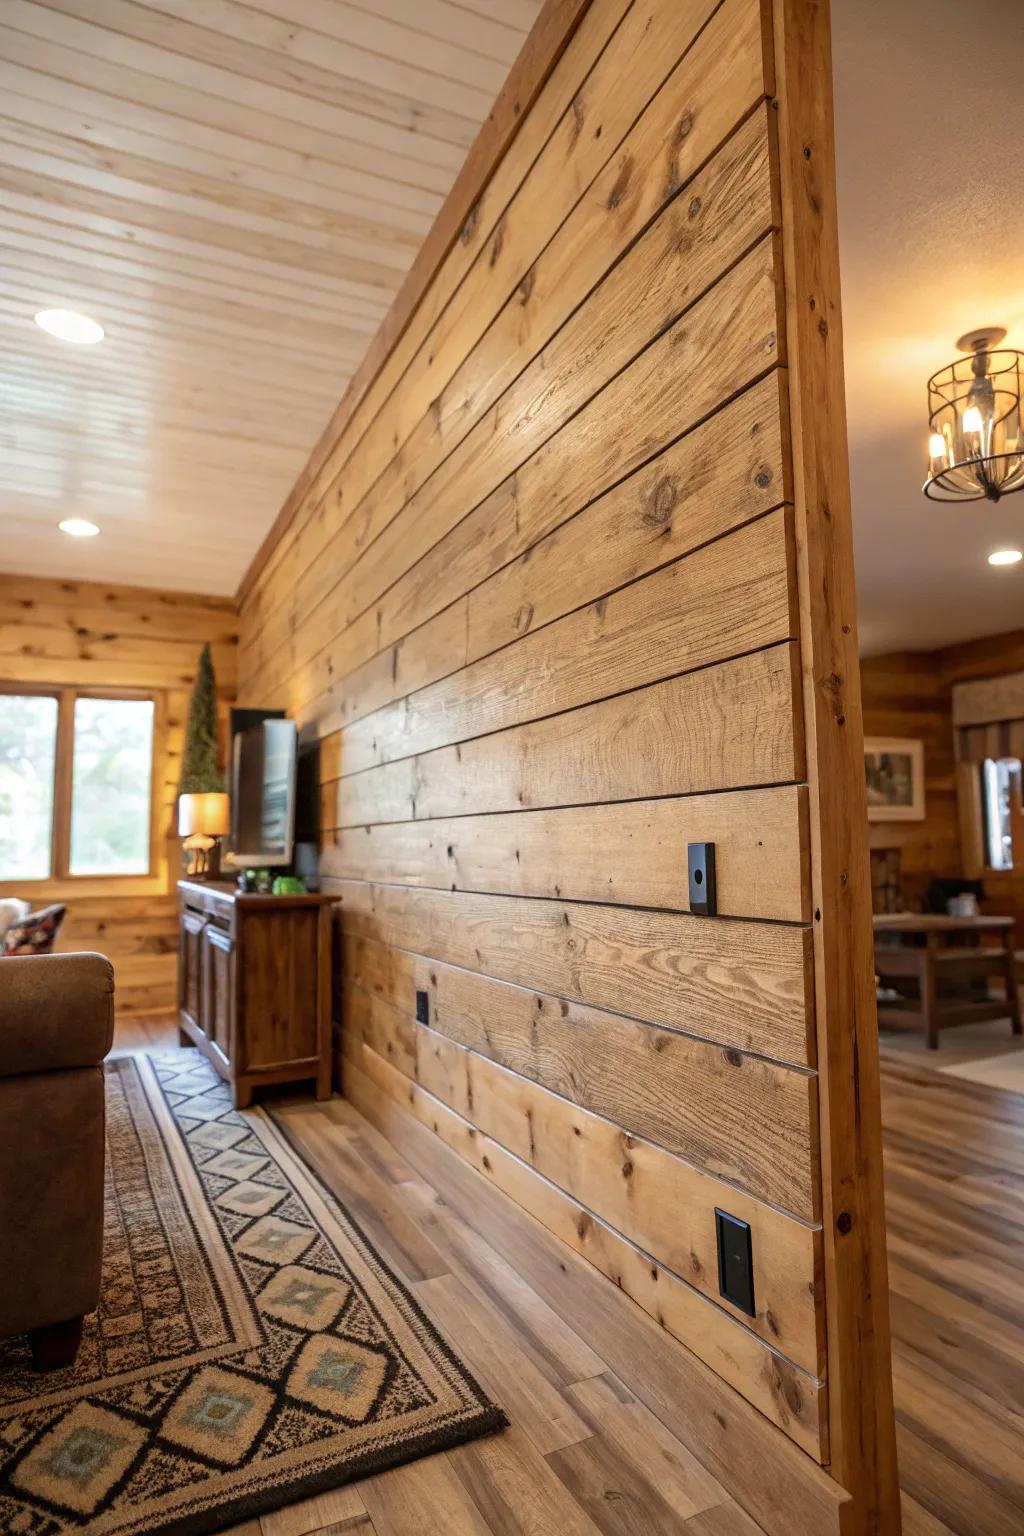
Mimic the look of wood with a wood grain texture using a graining tool. It’s a budget-friendly way I’ve added warmth and natural beauty to my spaces.
Useful items to consider:
- Wood Graining Tool Set: Transform your walls by adding realistic wood grain texture with this easy-to-use tool set.
- Wood Texture Stencil: Create stunning wood-like patterns effortlessly with a durable and reusable texture stencil.
- Faux Wood Paint Roller: Achieve realistic wood finishes quickly and easily with this specialized paint roller.
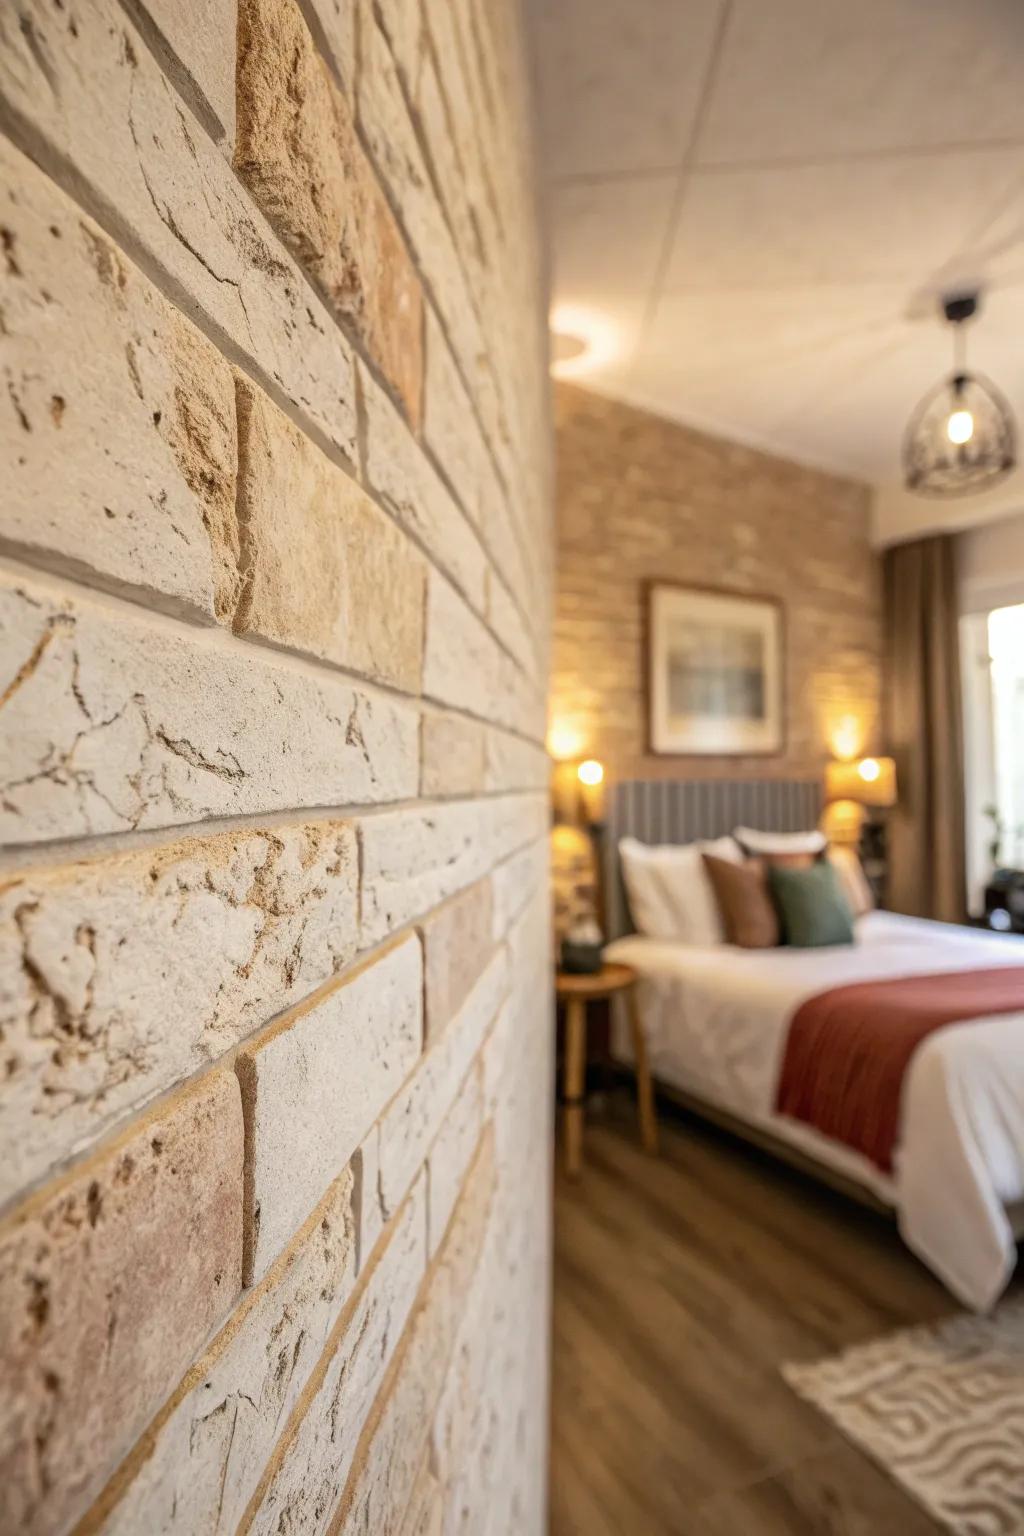
10. Faux Brick Texture
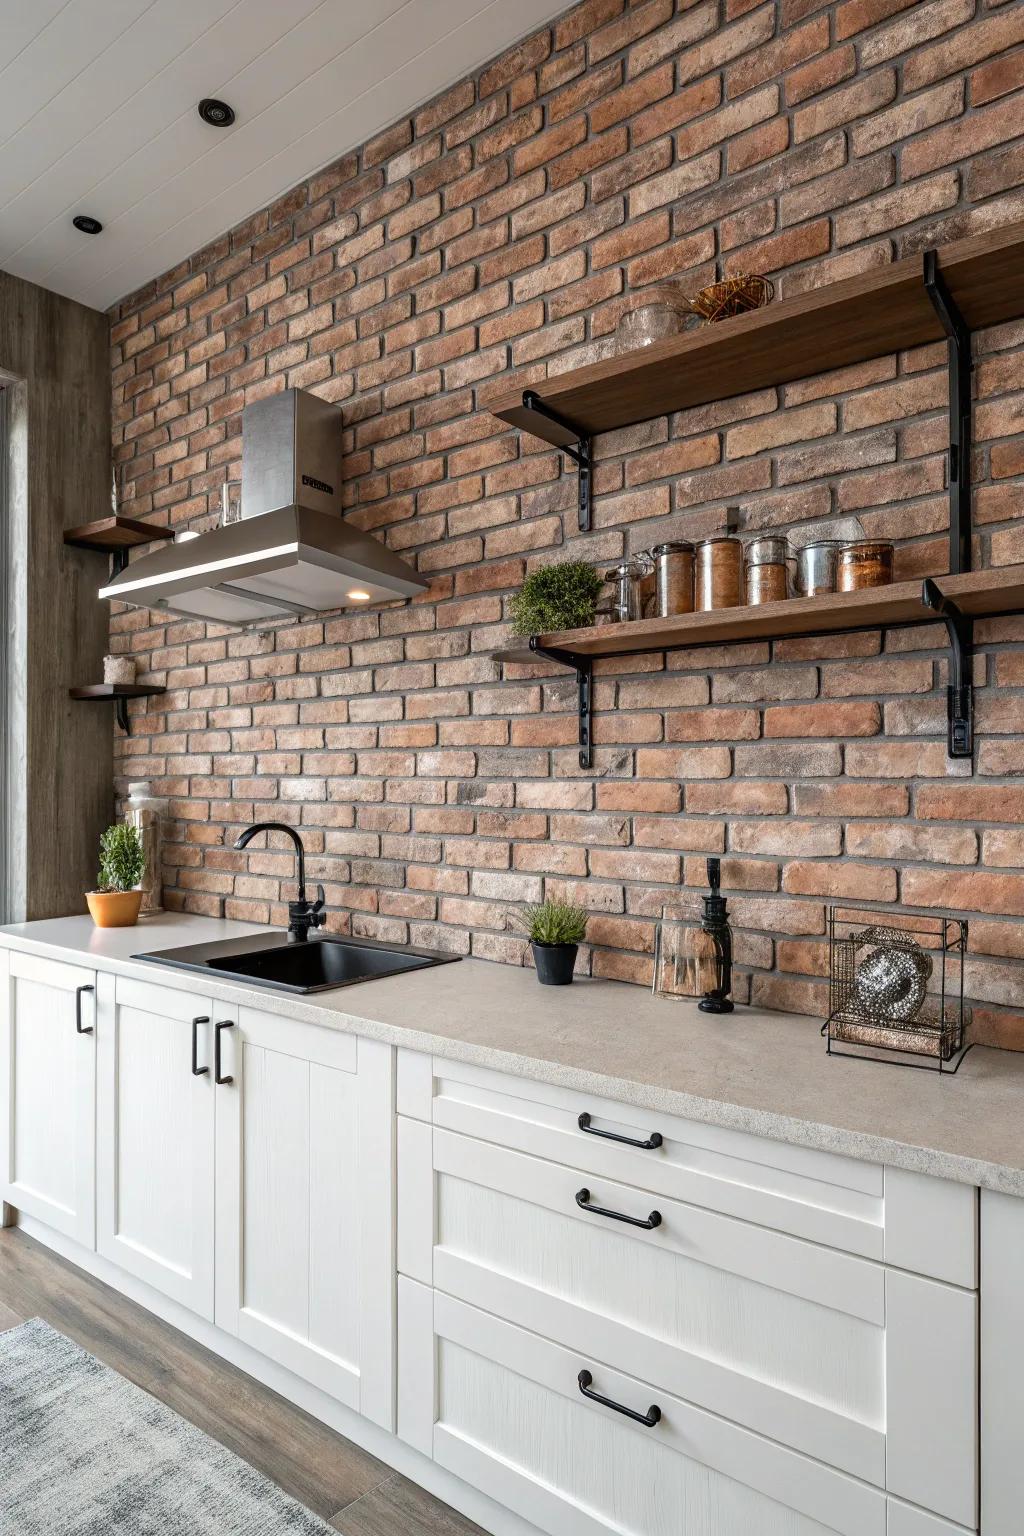
Create a faux brick texture using joint compound and a stencil for a chic industrial look. I’ve tried this in my kitchen to add a touch of urban flair without the permanence of real bricks.
A few helpful options:
- Joint Compound: Transform your kitchen walls easily with joint compound for a chic textured brick-like effect.
- Brick Pattern Stencil: Achieve an authentic faux brick look with an easy-to-use brick pattern stencil.
- Sanding Sponge: Smooth out your faux brick texture effortlessly with a versatile sanding sponge.
11. Hawk and Trowel Texture
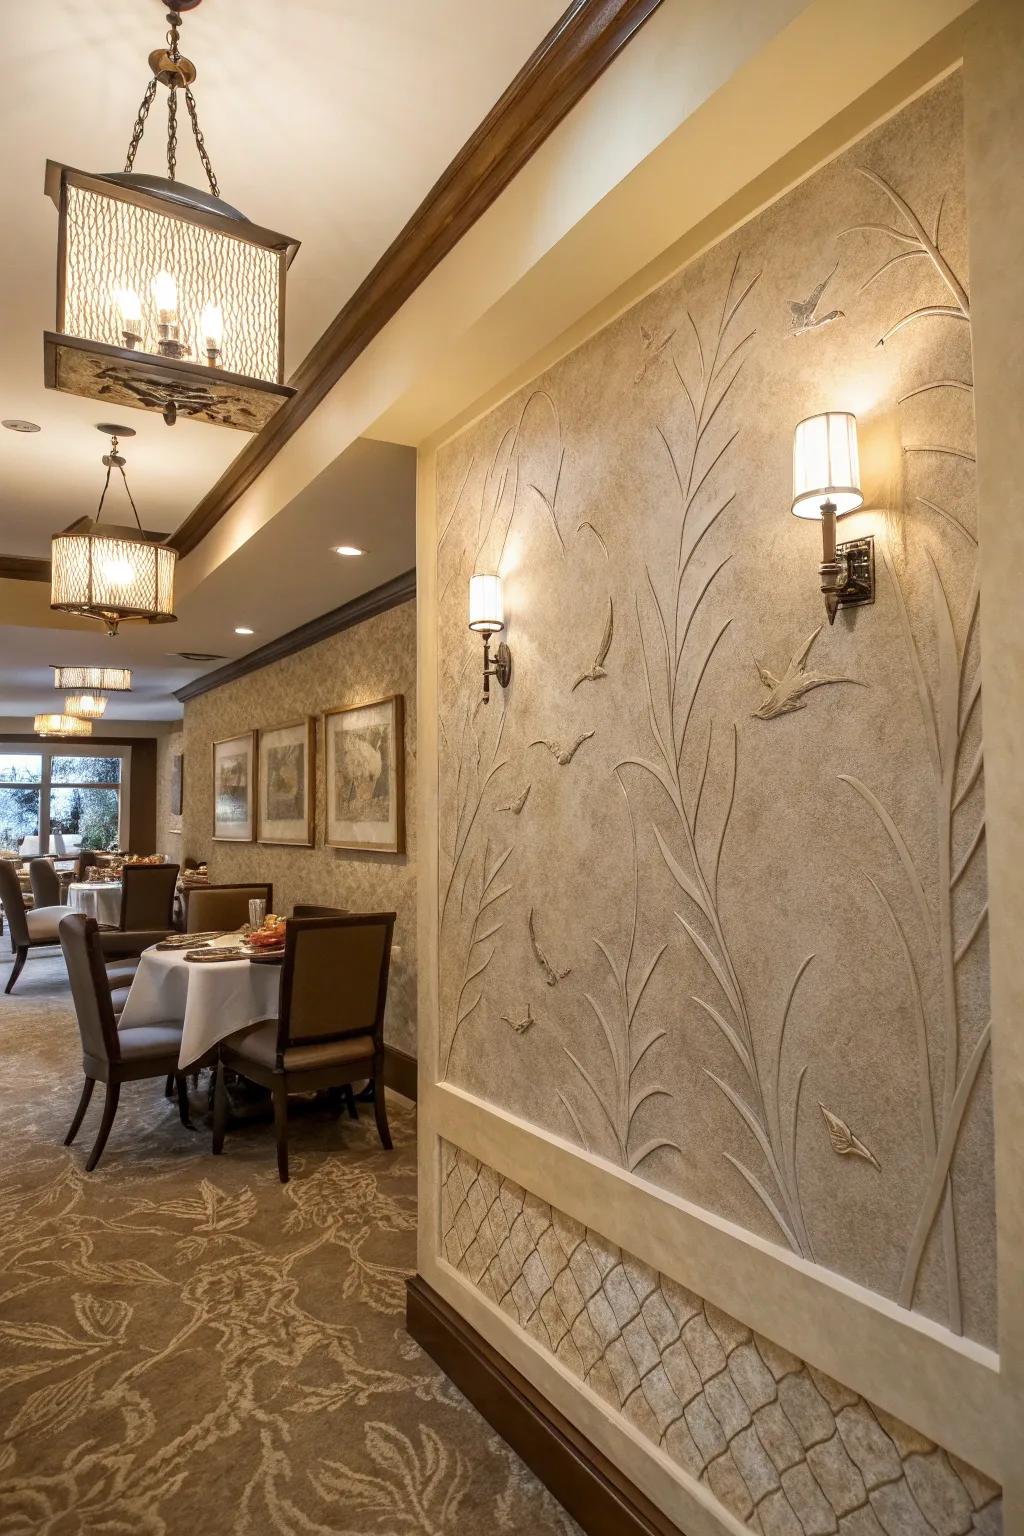
Achieve a layered, artisanal look with the hawk and trowel texture. This method is a bit more advanced, but I’ve used it to create a stunning feature wall in my dining area.
Give these a look:
- Stainless Steel Trowel Set: Achieve a perfect finish with a stainless steel trowel set designed for durability and precision.
- Hawk Tool for Plastering: Enhance your texture techniques with a reliable hawk tool, essential for consistent application.
- Textured Wall Paint: Add depth and style to your walls with specially formulated textured wall paint.
12. Textured Paint
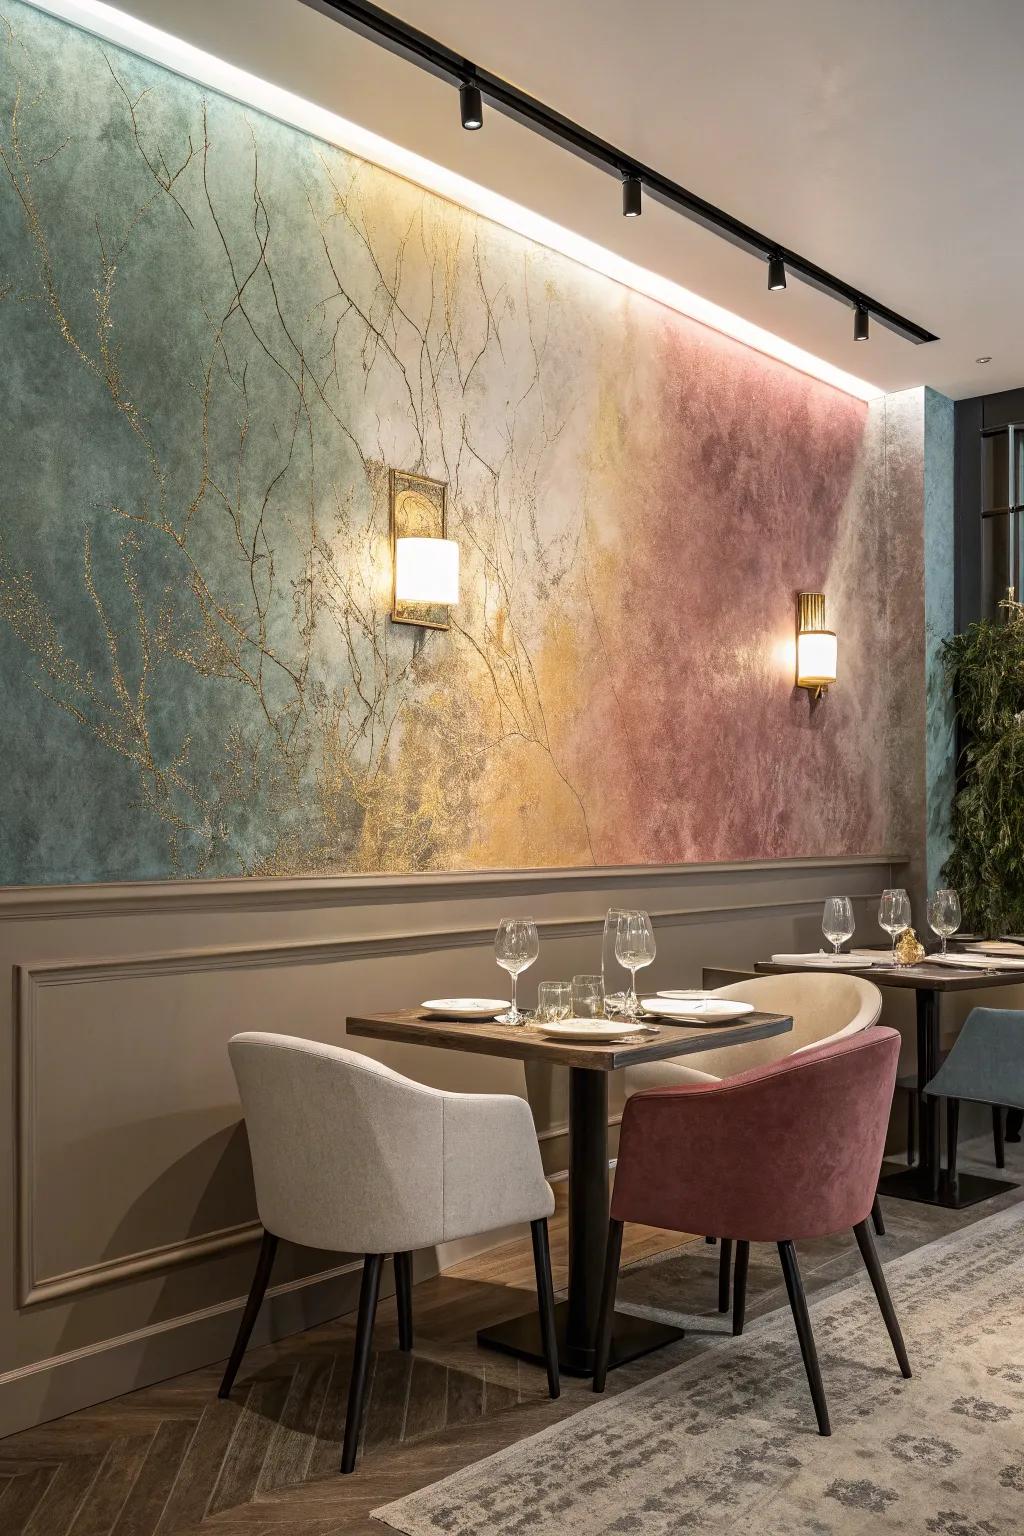
Using textured paint is an easy way to add depth without additional tools. I love how versatile this method is, allowing for endless possibilities in texture and color.
A few relevant products:
- Textured Wall Paint Kit: Transform your walls with ease using this user-friendly textured paint kit for stunning effects.
- Decorative Metallic Paint Additive: Add a luxurious touch to any room with this shimmering metallic paint additive. Elevate your decor.
- Wall Texture Roller Set: Achieve professional-looking textured walls effortlessly with this durable and versatile roller set.
13. Sponging Technique
The sponging technique is perfect for adding a soft, mottled texture. With just a sponge and paint, I’ve created a calming atmosphere in my home office.
Possibly helpful picks:
- Decorative Painting Sponge Set: Achieve a stunning mottled effect with this sponge set. Perfect for soft, textured walls.
- Interior Latex Paint: Choose quality interior latex paint for a consistent application and beautiful wall textures.
- Painter’s Tape: Use painter’s tape to ensure clean edges and professional-looking results with your textures.
14. Sand Swirl Technique
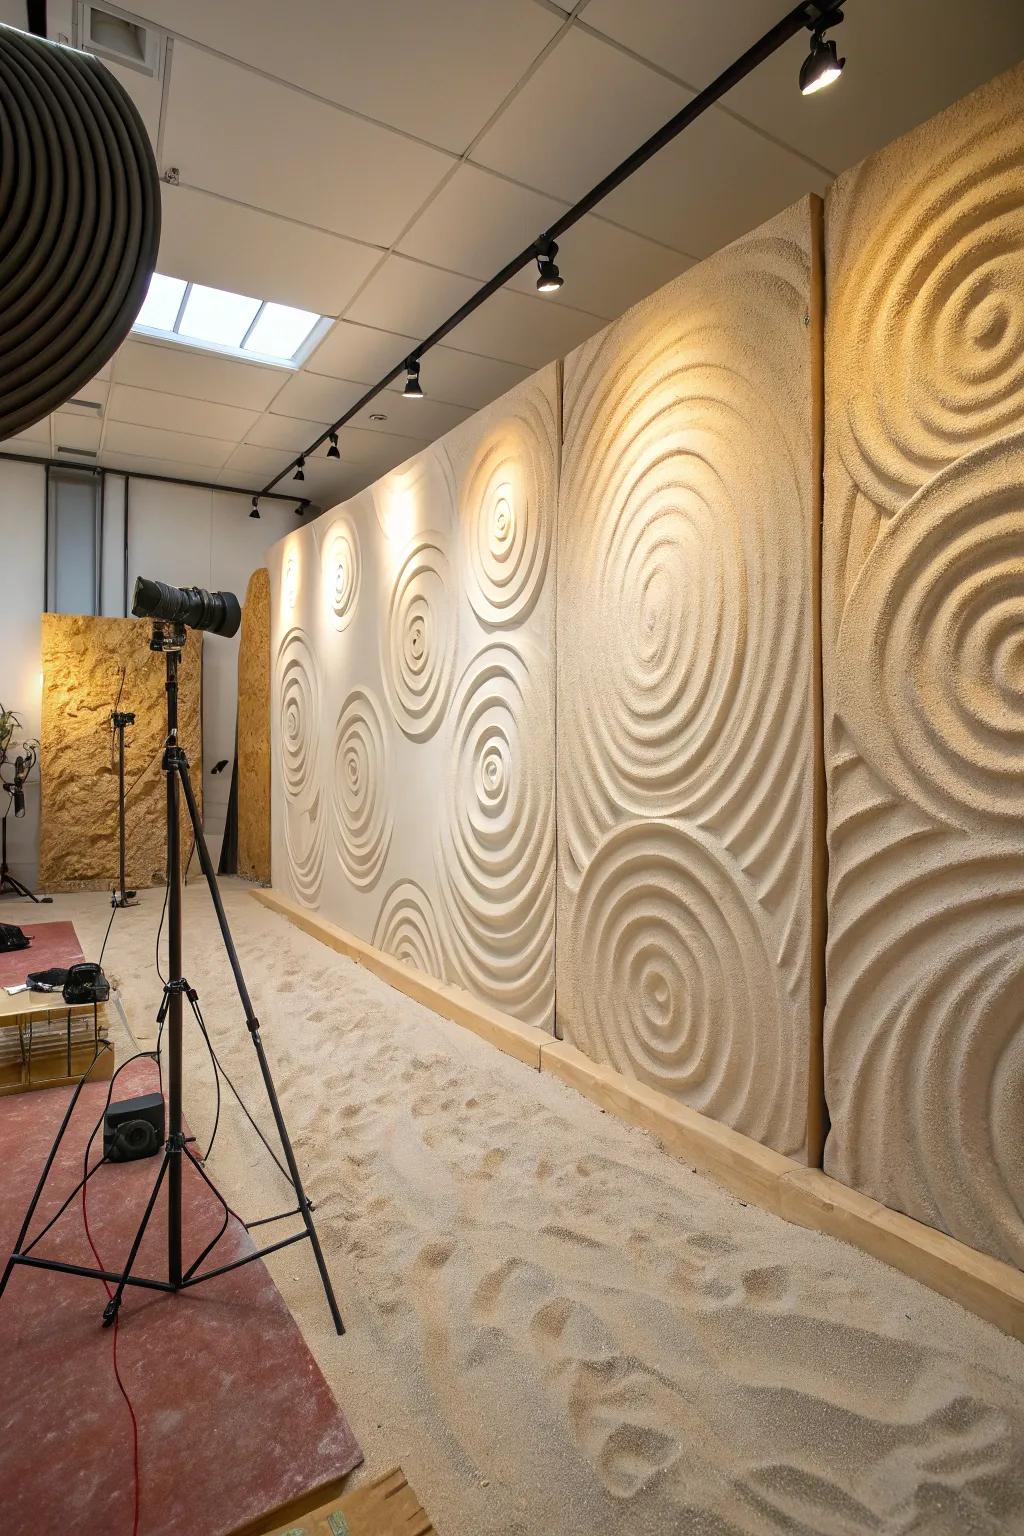
Try the sand swirl technique for a playful, artistic touch. Using a wide brush and a sandy primer, I’ve swirled my way into creating a unique wall that acts as a stunning focal point.
Might be a good match:
- Wide Paint Brush for Wall Textures: Transform your space with a wide brush, perfect for creating artistic sand swirl textures.
- Sandy Primer for Wall Textures: Achieve stunning swirl effects using a sandy primer designed for unique wall textures.
- Textured Wall Stencil Kit: Enhance your wall designs with a stencil kit, ideal for consistent swirl patterns.
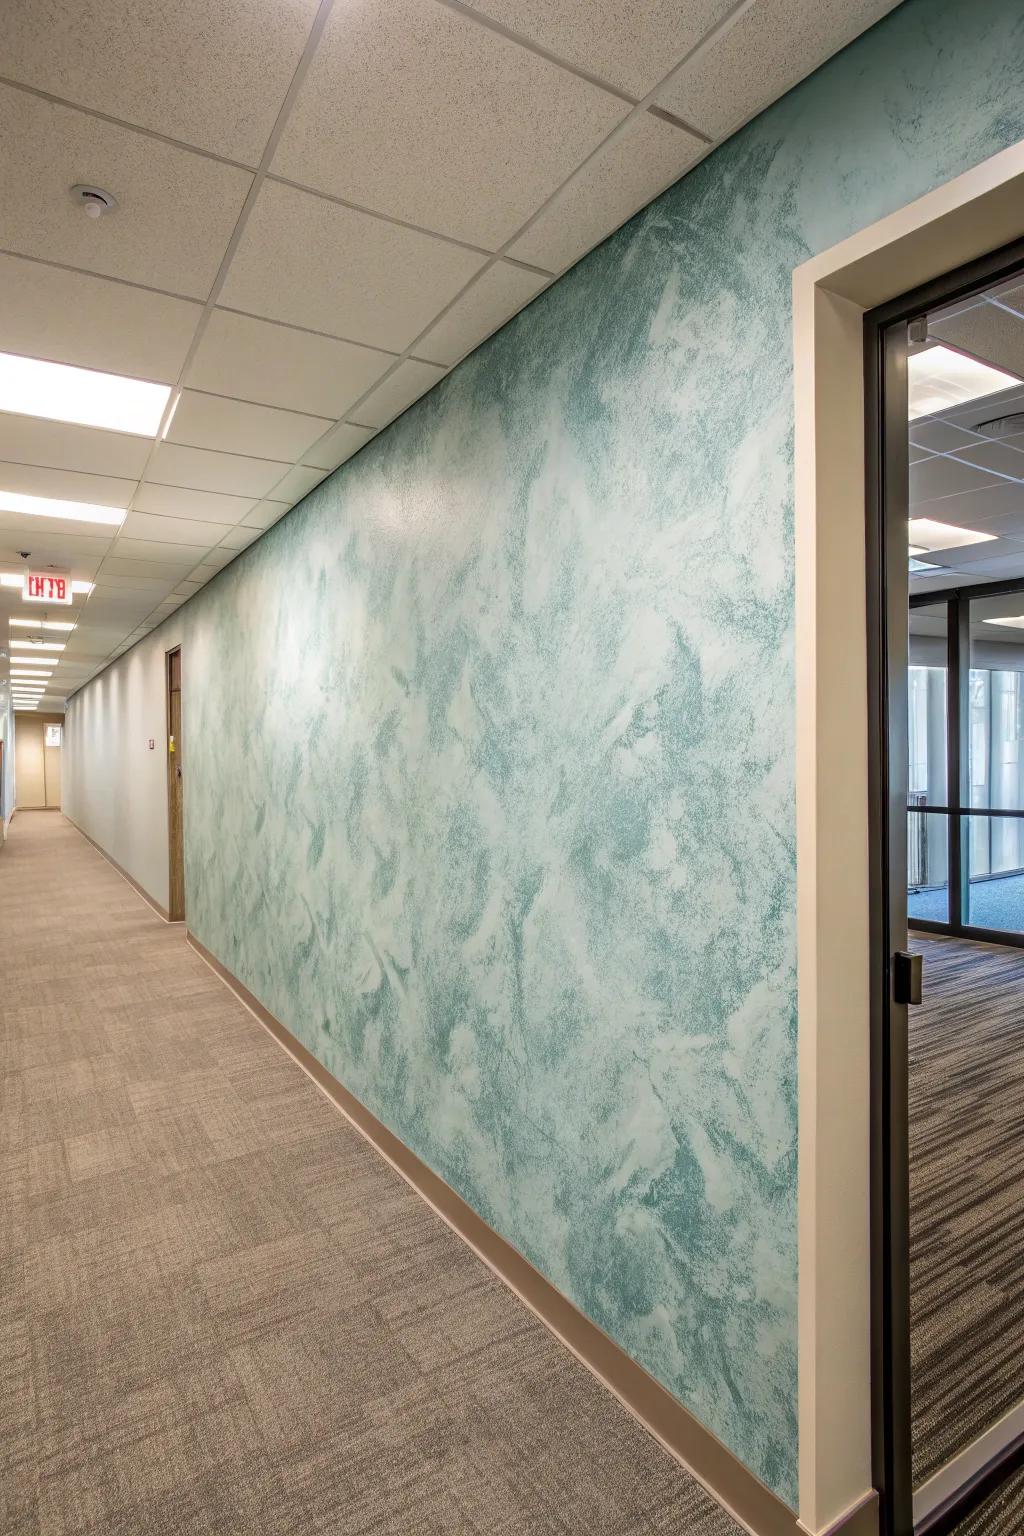
15. Plastic Sheet Marbling
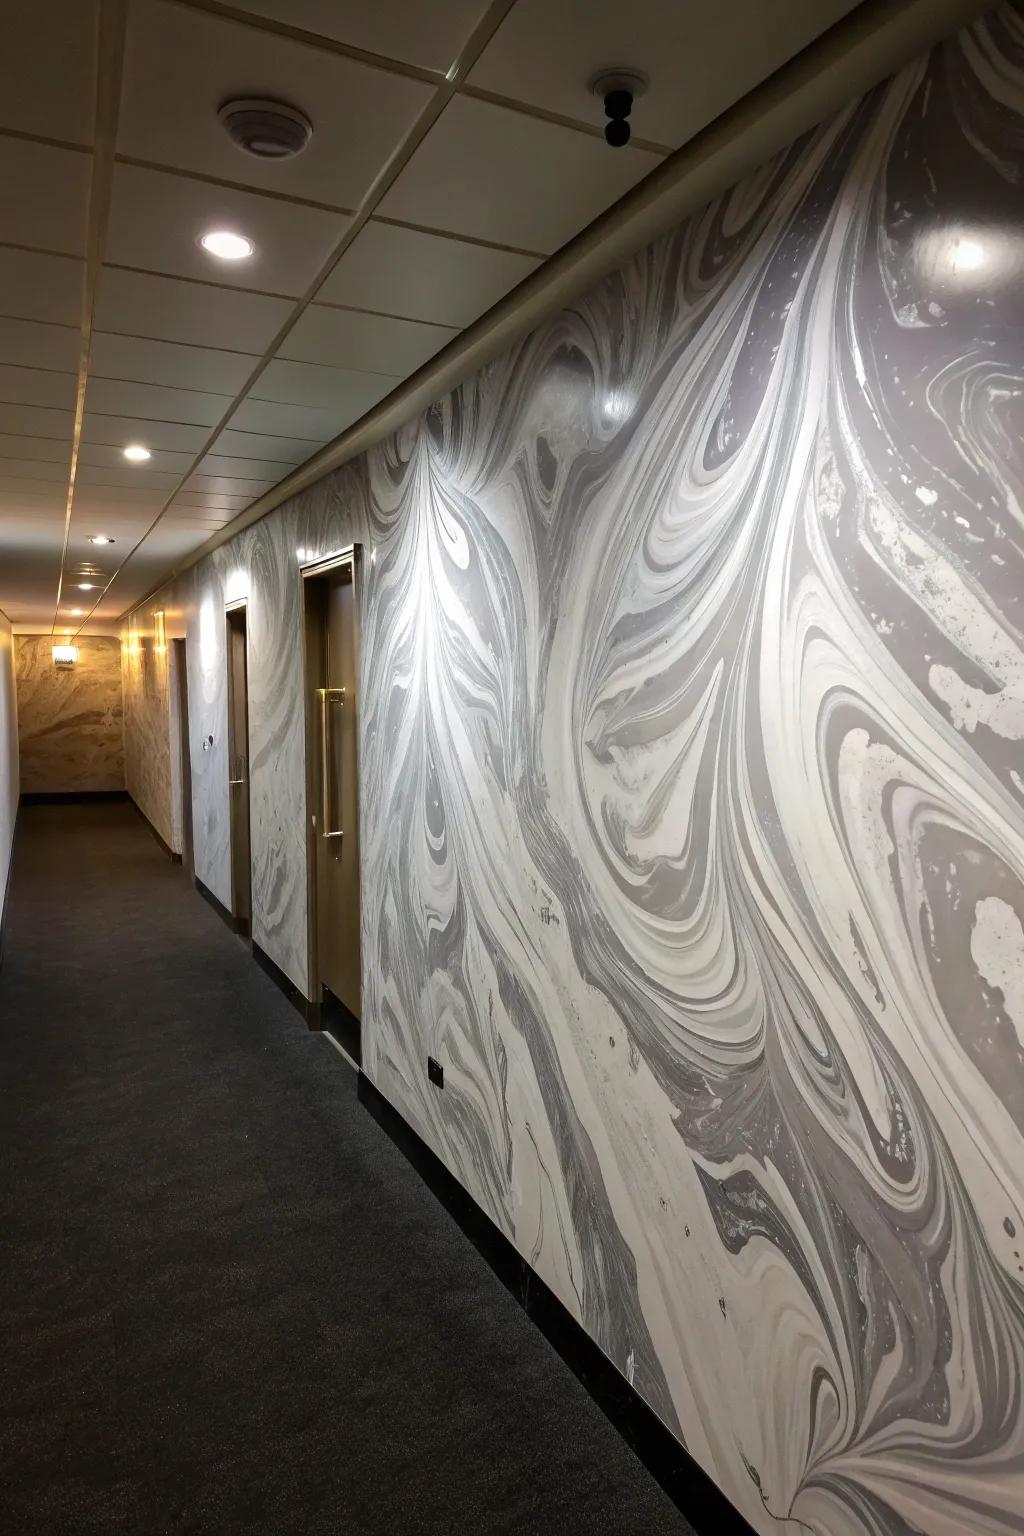
Use a plastic sheet to create a marbled texture by pressing it against wet paint. I’ve experimented with this technique for a surprising, artistic finish in my hallway.
These products might help:
- Clear Plastic Sheets for Crafts: Create stunning marbled textures with these versatile and easy-to-use clear plastic sheets.
- Acrylic Paint Set: Experiment with vibrant colors using this comprehensive acrylic paint set for various artistic projects.
- Paint Rollers and Brushes: Achieve smooth application and coverage with quality paint rollers and brushes in your artwork.
16. Slap Brush Technique
The slap brush technique creates random, interesting patterns with just a brush and drywall compound. It’s a fun way to experiment with textures and I love the spontaneity it brings.
Explore these options:
- Drywall Compound: Achieve stunning textures effortlessly with this versatile drywall compound. Perfect for slap brush effects.
- Texturing Brush: Unleash your creativity with this high-quality brush designed for unique slap brush patterns.
- Painter’s Tape: Ensure crisp, clean edges and protect surfaces with easy-to-use painter’s tape.
17. Slap Brush Knockdown
Combine the slap brush with a knockdown technique for a slap brush knockdown effect. It’s a playful texture that adds character, perfect for creative spaces.
Some ideas to consider:
- Textured Paint Roller: Experiment with a textured roller for unique slap brush knockdown effects on your walls.
- Knockdown Texture Sponge: Use a knockdown texture sponge for an easy and creative wall finish.
- Drywall Texture Brush: Apply distinctive slap brush patterns effortlessly with a specialized drywall texture brush.


